For hubby's birthday, I made a mini album and filled it up with pictures before I gave it to him. This gives him an idea of what all those papers in my craft room are for.
I titled the book "Celebrate" because all the pictures were taken from different points in time where we celebrated birthdays, Father's Day a graduation, Thanksgiving, a wedding....
The album is made of 6 pocket pages made of black cardstock; each pocket has a photo mat with one edge cut with a decorative edge punch.
Here's hubby in one of his birthday celebrations; and a picture of friends and relatives at the park celebrating the visit of my sister.
Above are memories of 2 father day celebrations.
4th of July celebration with a backyard barbecue!
Just chillaxin' in the backyard and in the park - celebrating ordinary days.
A pocket tag filled with strips of 5 narrow tags where I wrote the 1 reasons why I love him.
Celebration of a my BFF's daughter's wedding at the city.
Thanksgiving celebration/preparation with family and friends.
A waterfall of our pictures
Hope you enjoyed viewing!
Thursday, October 10, 2013
Monday, July 15, 2013
Pocket Mini
I keep a close eye out for scrapbook paper sales at Michael's. As soon as I see that their 50-pack black 11 x 8.5 cardstocks are on sale for 4 for $10, I'm off to get about 12 packs! I use these for mini albums such as the one below.
The album is made out of 6 pages, plus 1 cardstock for each pocket page, for photo mats. Not bad, I only use about 15 sheets of cardstock including the ones I used for pockets and little booklets and tags. Of course, I could make about 3 half-sheet photo mats for each pocket and I think they will still fit.
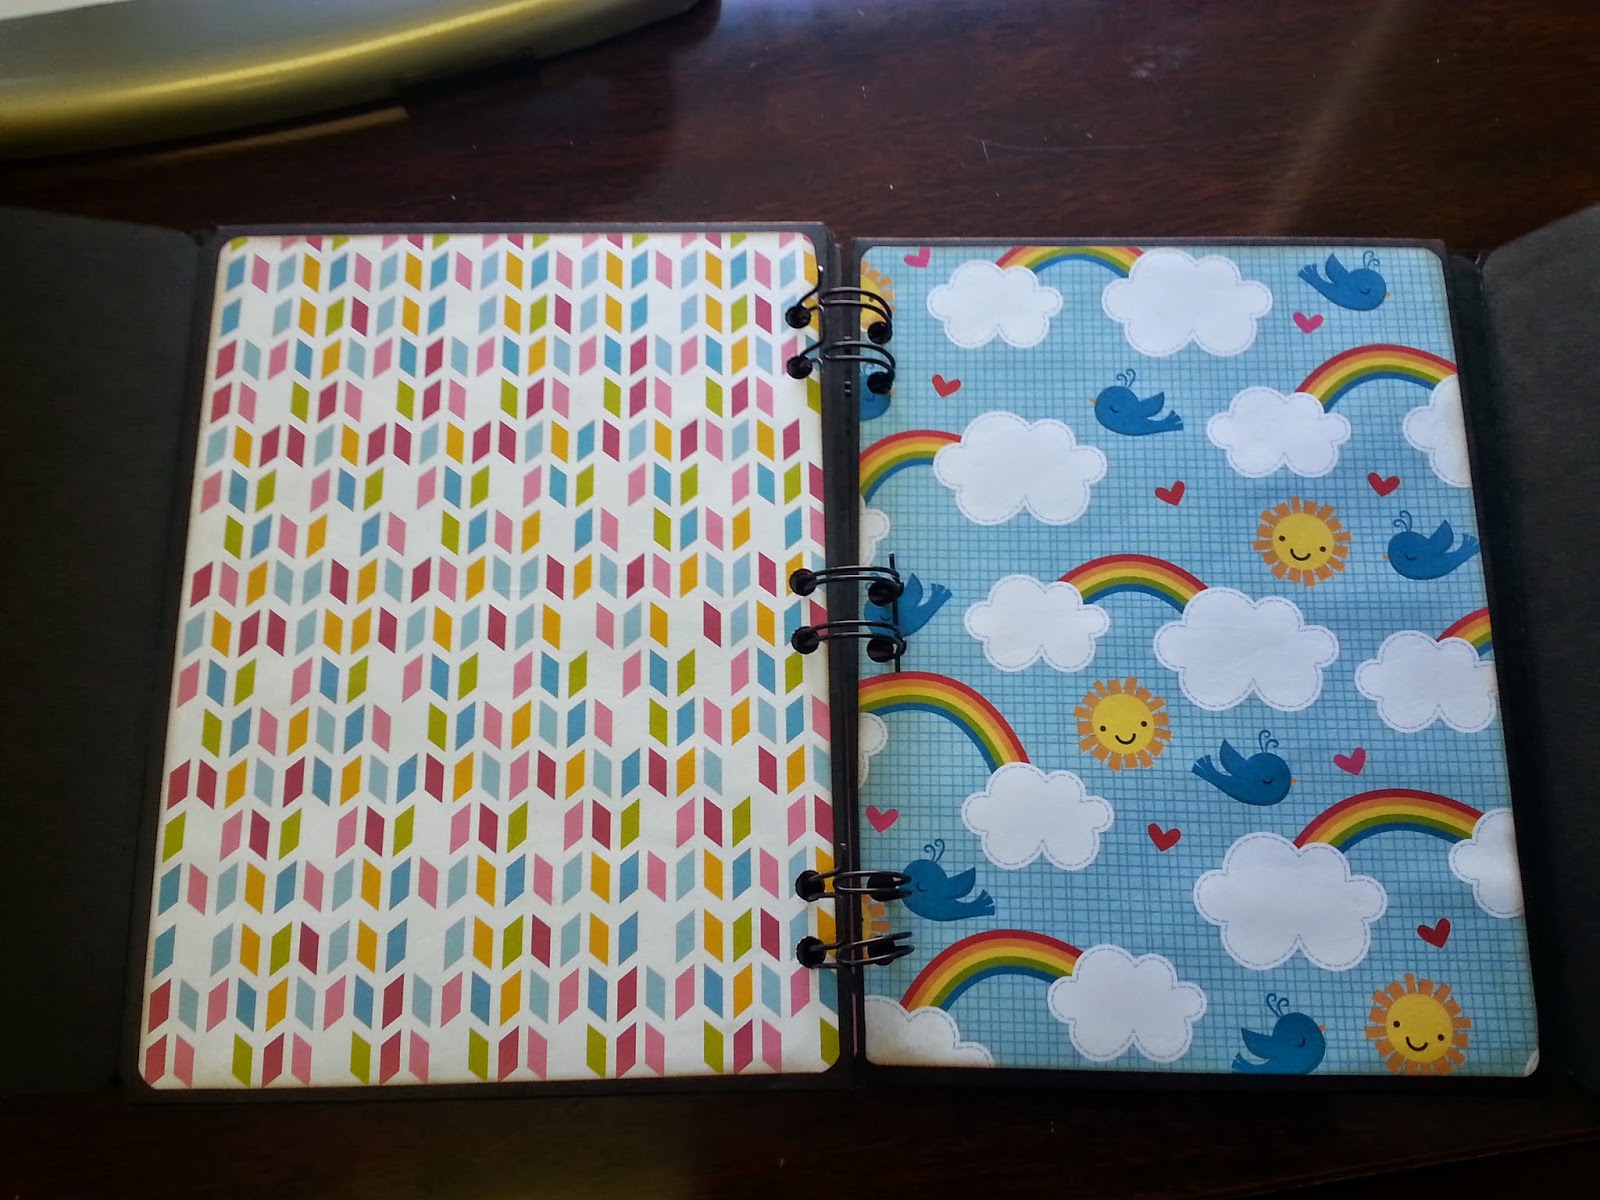
For this album I used patterned paper by Colorbok which I bought at Walmart for $5.00 a stack. The first pocket serves as the front cover. Front cover is not decorated yet as I still don't know what this album will be all about.
The flap covering the inner front cover is a sheet of cardstock scored n the middle. half of it is in the pocket and the other half is what you see.
Below is what's under the flap. Small pockets with tags in them add interest to a page.
Not all pages have been decorated with anything. I really find it difficult to decorate a page without knowing which photos I will be adhering on them.
All patterned papers and journaling tags I used in this mini are leftovers from a previous project. Even the O'wires I used are leftovers which I just cut into pairs so I can make use of them.
The back cover is also a pocket page. Can't wait to get this mini decorated!
Saturday, April 20, 2013
The best day
Just playing around today. Having too much sugar is not good so I have to choose... a sugared-drink or chocolate bites? So I came up with this.
I think I'm going to start an album about "a day in my life" using digital scrapbook elements. This is a paper from Armina from the kit Smiled4Me. Thank you, Armina.
Craftfairy1
I think I'm going to start an album about "a day in my life" using digital scrapbook elements. This is a paper from Armina from the kit Smiled4Me. Thank you, Armina.
Craftfairy1
Sunday, April 14, 2013
American Girl Mini
I got a stack of American Girl mini a couple of years ago and made this for my DD so she could decorate it with pictures of her and her friends in middle school. This was when I went overboard with flowers.
I followed Laura Dennison's (Following the Paper Trail) tutorial on how to make this mini. Each page is made of two business envelopes glued together.
The front cover is made the same as the other pages. I didn't use a chipboard cover.
I've had this Troll doll for years. It is a key chain which I kept for good luck and I found it among my "treasures" of little dolls. It is so perfect for a charm.
I cut out the word art from the paper collection and adhered them at the back of the Troll doll's tags.
Out of the some scrap papers from other stacks, I made tall narrow journaling tags.
Thank you for viewing.
CraftFairy1
Back cover is also the same as the inner pages. Perhaps, when I get a chance I will add a chipboard covers for this album to make it sturdier. I will have to find my stack of left over papers from the collection.
I followed Laura Dennison's (Following the Paper Trail) tutorial on how to make this mini. Each page is made of two business envelopes glued together.
The front cover is made the same as the other pages. I didn't use a chipboard cover.
I've had this Troll doll for years. It is a key chain which I kept for good luck and I found it among my "treasures" of little dolls. It is so perfect for a charm.
I cut out the word art from the paper collection and adhered them at the back of the Troll doll's tags.
Out of the some scrap papers from other stacks, I made tall narrow journaling tags.
CraftFairy1
Back cover is also the same as the inner pages. Perhaps, when I get a chance I will add a chipboard covers for this album to make it sturdier. I will have to find my stack of left over papers from the collection.
Subscribe to:
Comments (Atom)


