So now, at last, I can post pictures of the wedding shower guest book I made for my friend's daughter, Marga. I had a little trouble with the binding as I couldn't make up my mind which would be better: ribbons to be tied in bows or key rings? Whichever Marga chooses, it will work out perfectly.
I assigned my daughter, Chrissie, who is one of the bridesmaids, to be in-charge of the guest book. She went around greeting guests giving out journaling tags, explaining what the guests are supposed to do. I think most of them are used to seeing a notebook that looks like an address book.
So here's Chrissie with her basket full of tags... I pulled her aside when I got a chance so I can take a picture of her by the lake.
The guest book is made of chipboard and patterned cardstock SEI's "Couture". I had to choose papers with the color purple as that was Marga's color theme. This is 12" tall x 6.5" wide.
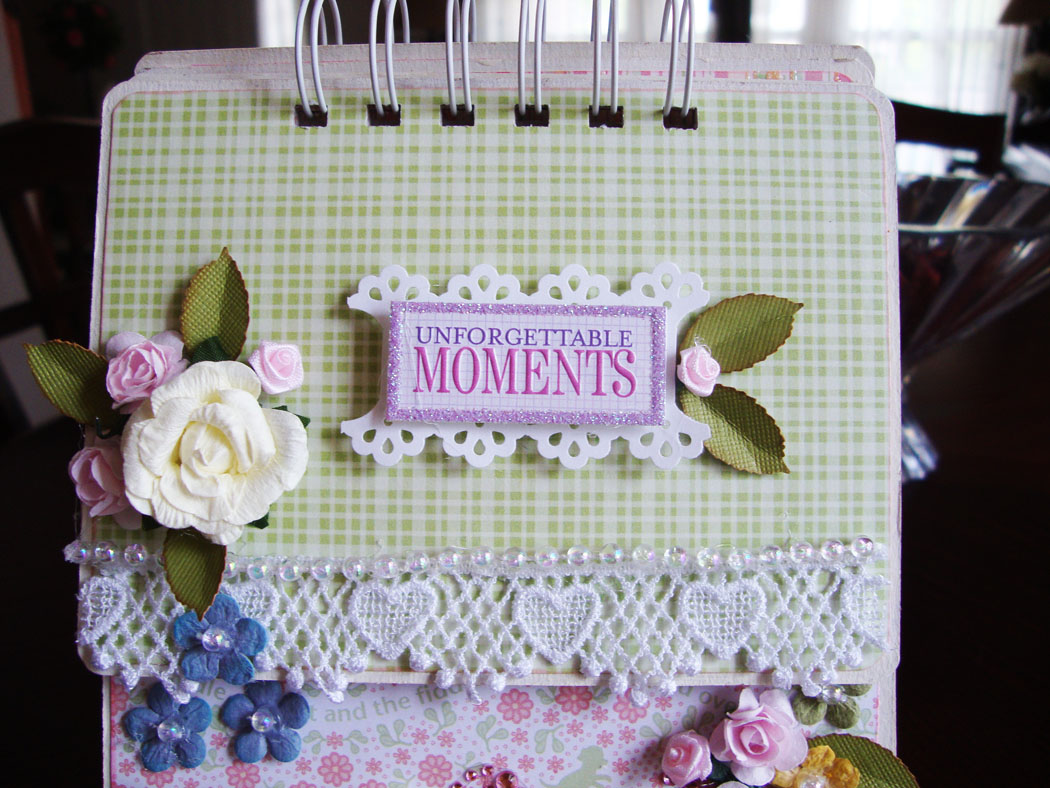
I bound the album with purple bows. The cover is decorated with Prima flowers centered with pink beads, a Tim Holtz plate, Recollections bling, yellowish roses that I got from the wedding section at Michael's. I just hand-wrote the title of the album.
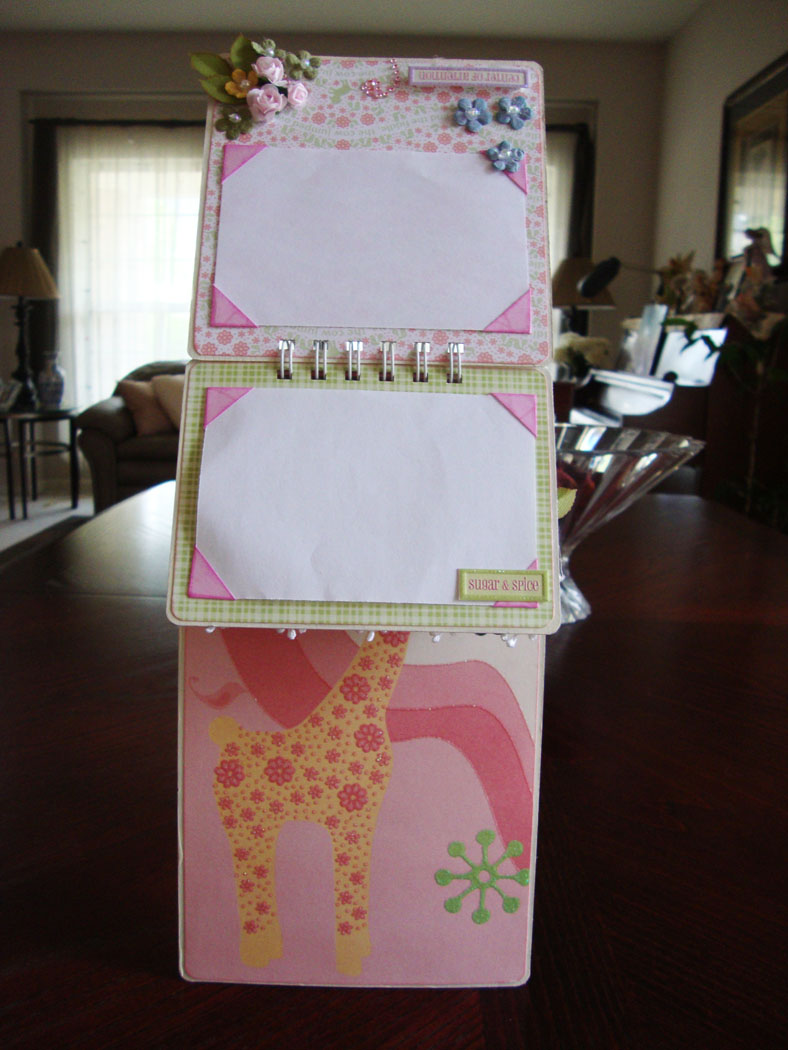
The inside front cover (page 1) has an acetate pocket to hold the journaling tags. I meant for this to house a copy of the wedding shower party invitation. I also made a small photo mat which I glued on the sides and bottom so I could insert another tag behind it.
Between pages 1 and 2 is a purple bi-fold photo mat that can hold 3 photos. The right fold is a pocket and holds another tag for Marga's own journaling or a couple more of tiny photos. This tag is topped with a purple flower.
On page 2, I added several tiny mats, like a waterfall effect. I glued strips of purple cardstock punched with one of Martha Stewart's punchers at the bottom of each page to make it look like the edges are laced .
Pages 3 and 4 (below) are open spaces for bigger photos. Page 4 has 3 inserts, each holding a photo mat and 3 journal tags.
Pages 5 (below) holds more journal tags tied with bows of different colors. The edges of the tags are inked using Colorbox and Tim Holtz Distress inks. Strips of paper using a Martha Stewart puncher are used to hold the tags in place.
Page 6 is blank for bigger photos.

Page 7 (below) is blank for more photos, or Marga may write her thoughts about the day on this page, or make a list of gifts she received. Page 8 was made just like Page 4, above. I folded the patterned paper in half, glued it on each end and in thirds to make pockets.

The flip side of Page 8 was made just like Page 5 above. One side of this page was punched with another Martha Stewart puncher. The strips of paper is from a purple cardstock this time.
A couple of tags were pulled out to show front and back. On the front, I wrote "Wishes for you" so guests will know that this was meant for them to write their greetings for Marga and Zax. The flip side of the tag is where the well-wisher will write their contact information.
Pages 9 and 10 were left blank for bigger photos. I made a trifold, adhered it on page 9 and tied it with a purple bow to prevent it from flopping around. I then inserted one of the tags behind the ribbon. The trifold can hold 5 small photos.
I glued a pretty lace ribbon on page 11. This will hold more tags or photos. Between pages 11 and 12, I made a purple photo mat insert. Marga can either adhere photos here or write something about what games were played, who won, and what the prizes were.
Both sides of the lavender photo mat is a pocket to hold more journal tags.
Page 12 is designed exactly like page 4. Pages 13 and 14 were left blank for more journaling or photos.
I found these metal treasures at Walmart. They are just so perfect for this album. And I ended up using ribbons and bows instead of the binding rings. At that time I couldn't find big ones that would fit all these pages.
TFL